
My vision for this project was to create a chair that can also transform into a desk.
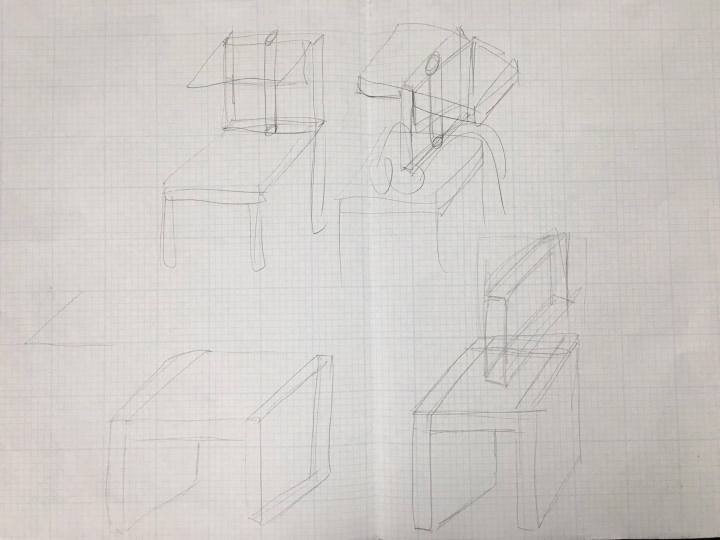
Here are my initial concept sketches: it involves a rotating back with flaps that can be folded into a table. In one state, the chair would be used as a normal chair; in the other, the chair has a desk top, and the user would be facing the opposite direction.
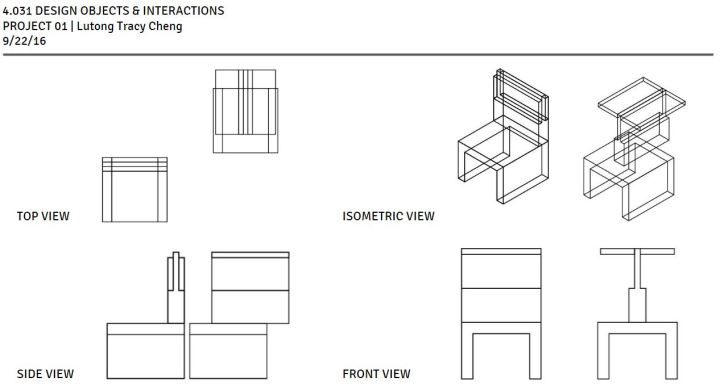
Next, I made a model out of small wooden slats and wood glue to flush out my ideas a bit more. Inspired by Enzo Mari, I wanted to keep the design simple and avoid using material besides wood, nails and screws, so I tossed out the rotating back idea. Instead, I decided to have a back that can be slotted into a hole on the chair seat. The hole is in the shape of a plus sign, indicating the two different states. In terms of the table/chair back transformation, I settled on using two hinges.


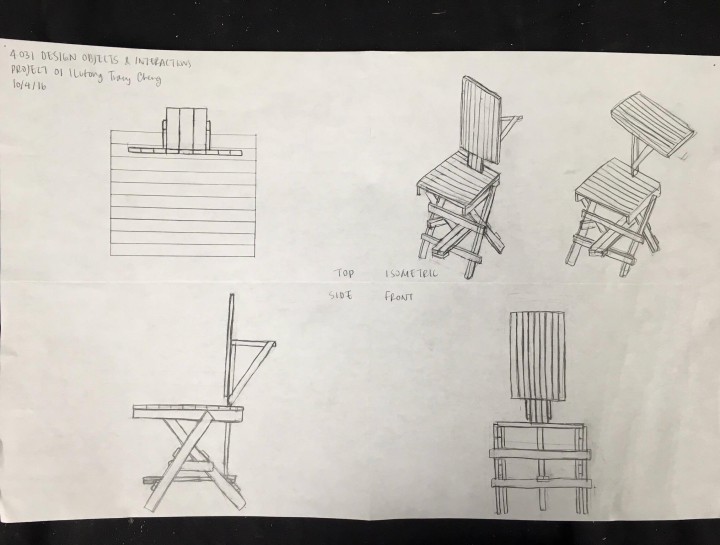
This is the final sketch with all the details. You can see the mechanism I decided to make to support the table. The support isn’t too intrusive and can be used as a large coat hook when the chair is in its simple chair state.
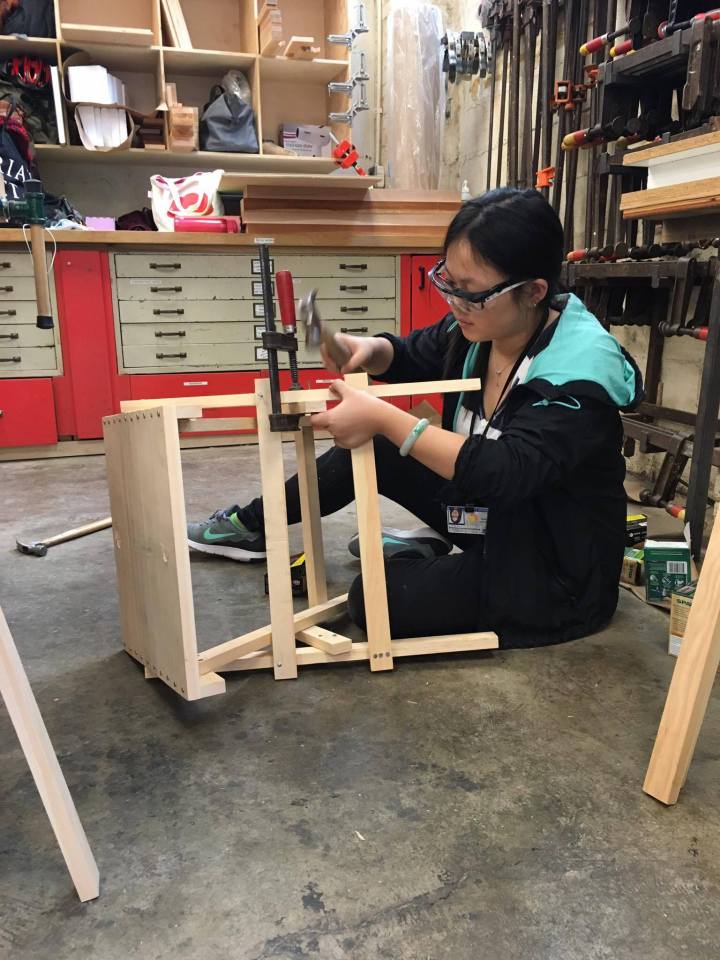
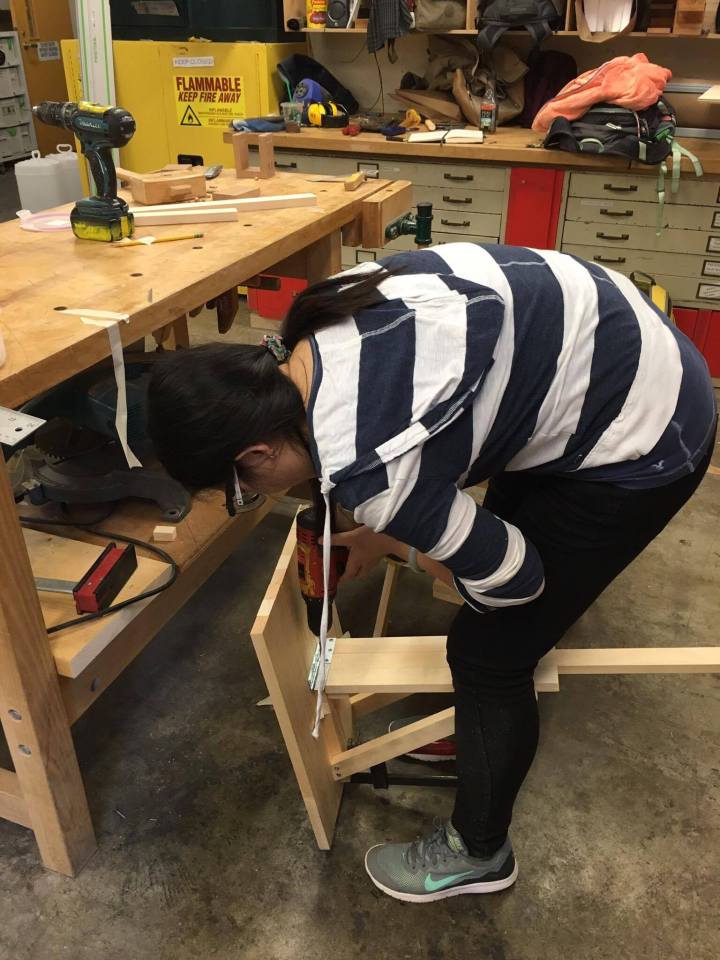
When I began to build my chair, I decided to use wood glue to increase its durability, a lesson learned from building the Q chair. I started with the seat, and like the Q chair, measured and built the bottom components around the seat. Before gluing and nailing the seat together, I made sure to measure and cut a plus sign shaped hole for the chair back/table to slot in to. Soon, I was able to make the stool. I personally like high seats and tables, so I made my chair with a higher seat than the norm. This is a picture of me finishing up the stool structure with the help of a clamp.
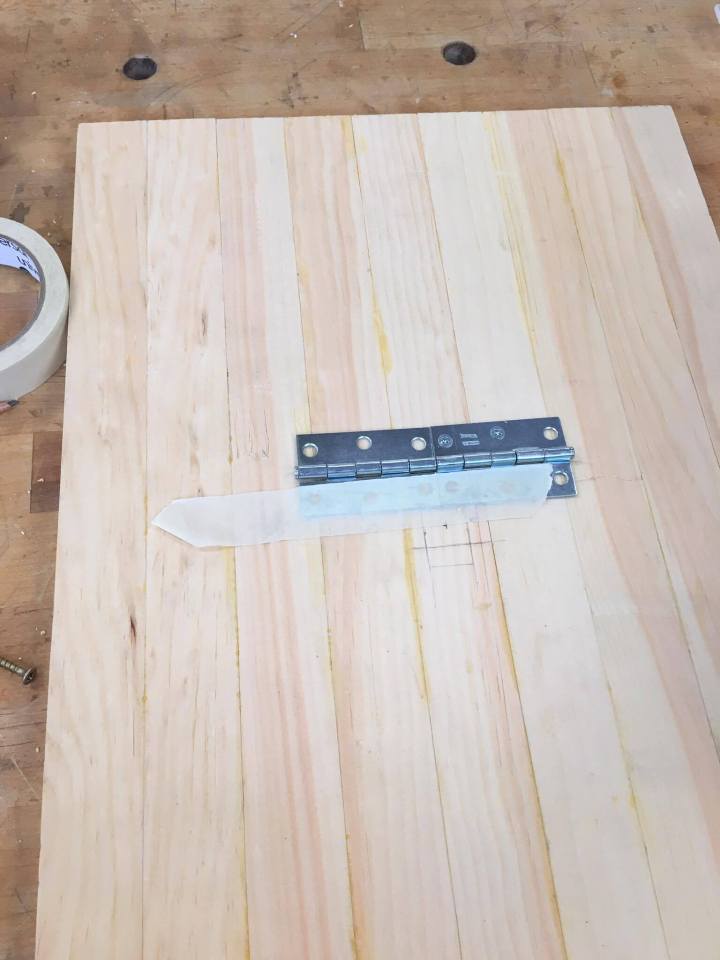
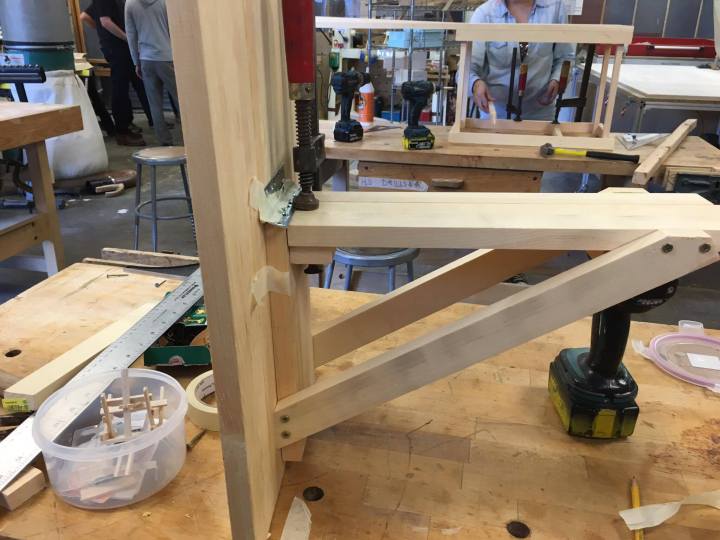
After sitting on the stool, it felt a little unstable, so I added some more support to it. For additional stability, I made a plus shaped hole on the bottom of the chair as well. Next, I glued together the chair back/table, and began to work out how the hinge would work. I decided to place the hinge a little left of center so that the table would stay flat on the support when untouched. While the glue was drying, I build the pole and support system for the table. It has a simple triangular shape that is sturdy enough to hold the table. Below are pictures of the hinges being attached to the table, and then the table being attached to the supports.
Lessons learned: It’s important to put the time into planning. With my sketches and models, I thought that I had a pretty good plan going in, but after building for 11 hours, I realized that I didn’t think things through as well as I thought I did. For example, it’s not so easy to climb into the chair in the table configuration, especially since the seat is so high. In addition, someone pointed out to me that I could have avoided the slot by just allowing the seat to directly hinge back, and making the back more horizontal than vertical to have desk dimensions. I do like how the back currently looks, but it was not as a conscious decision as I’d have liked it to be, and I probably could have figured out a way to make the other simpler way work and also keep the aesthetics that I liked.
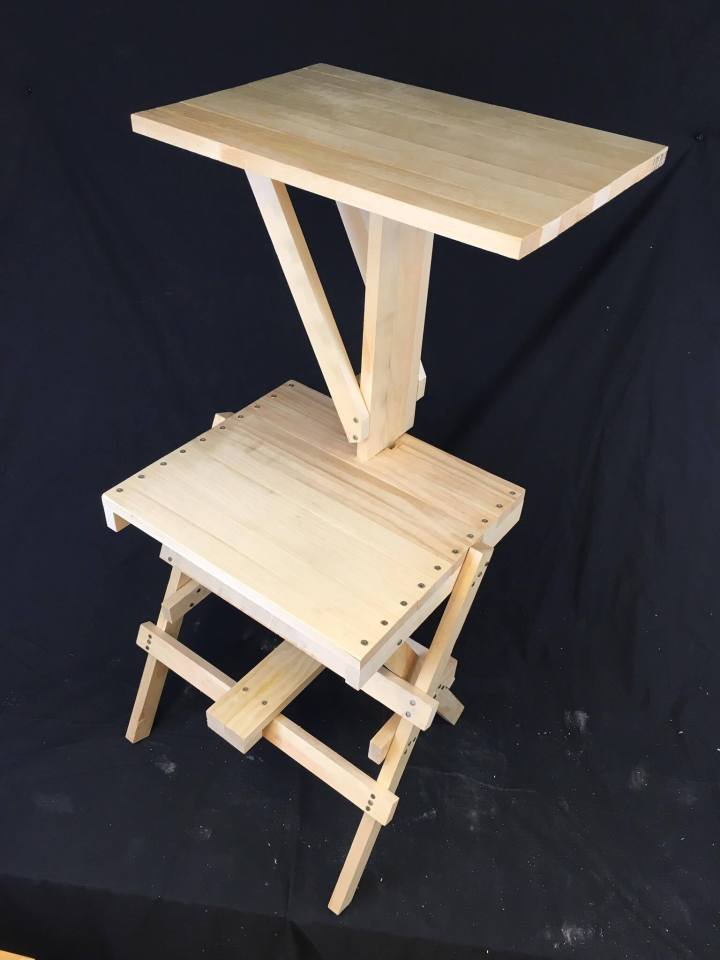
And there you go – a table and chair transformer. Here’s a picture of it being used.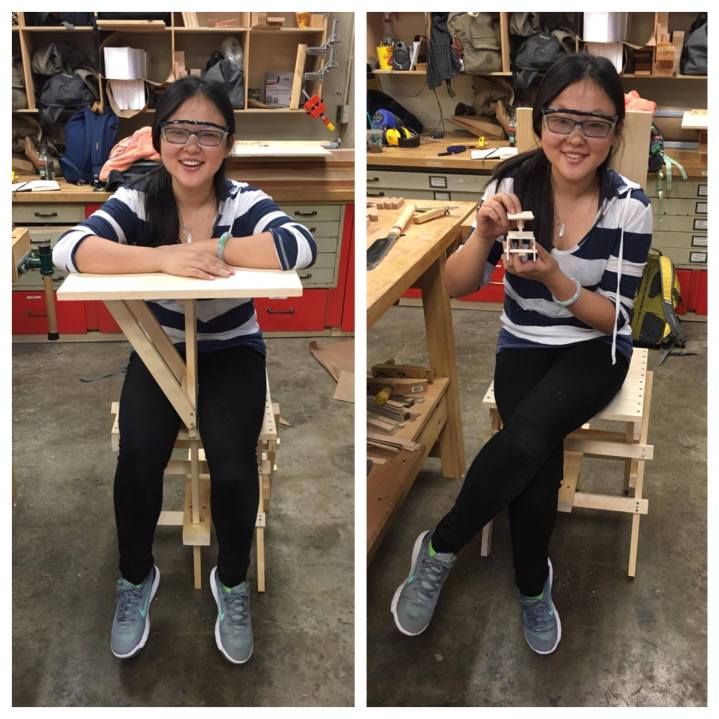
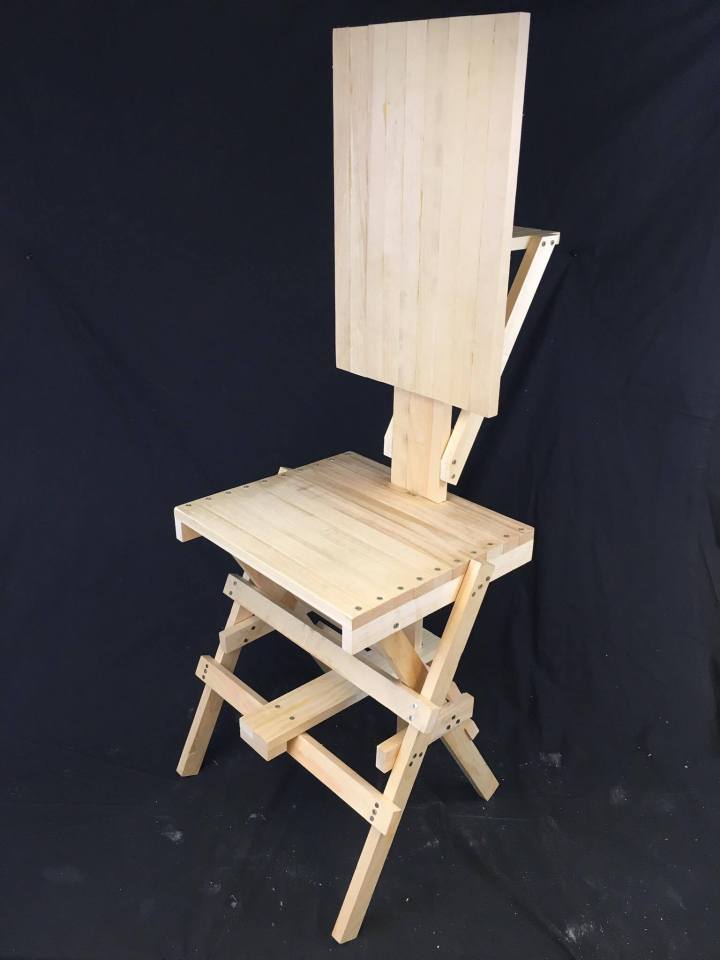
State 1: the chair.


State 2: the table chair.


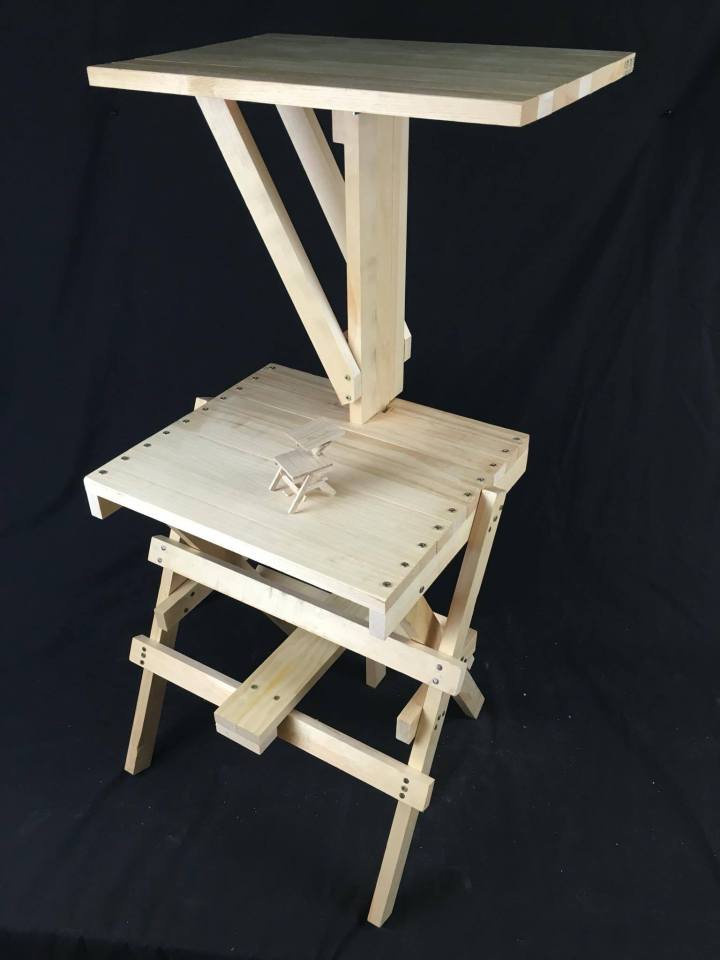
Mommy and baby chair.
Thanks for reading! 🙂
